
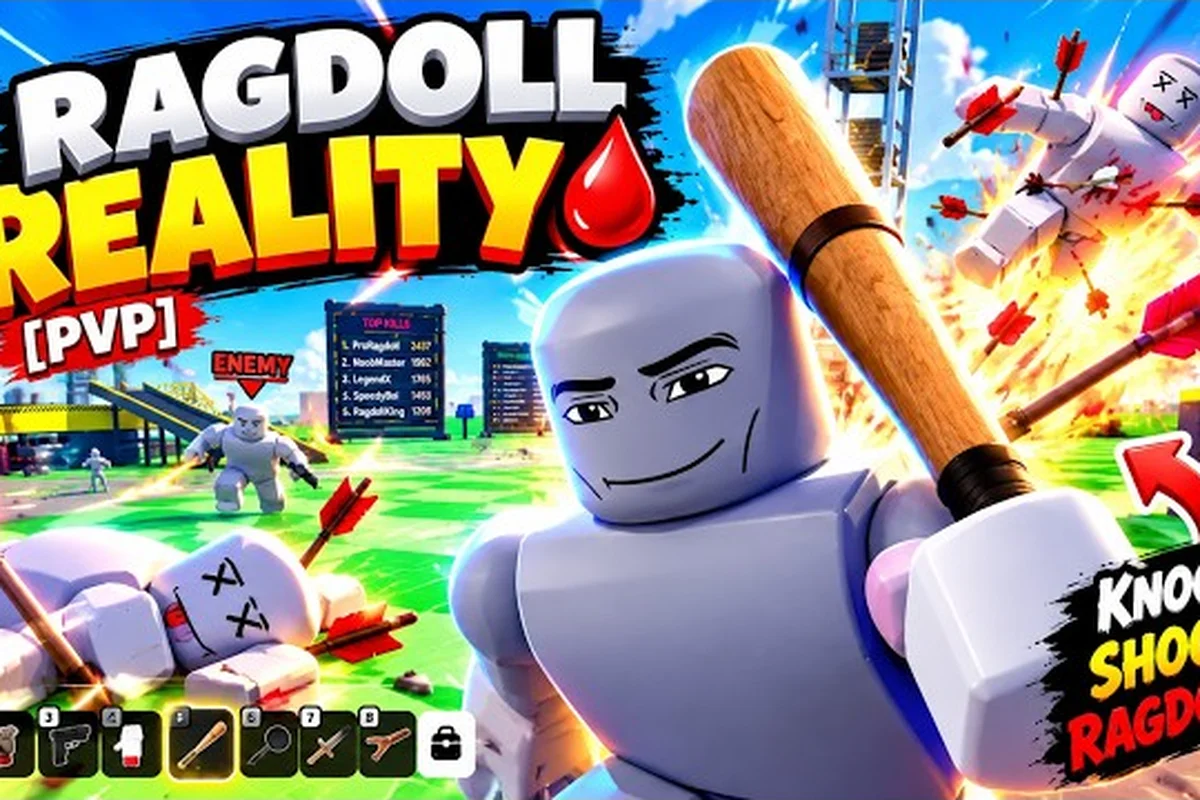
This ragdoll reality trap guide highlights the playground’s key hazards, the highest platforms for long drops, and the safest routes for practicing dummy throws. A reliable setup starts near the spawn area: learn each ramp’s bounce angle first, then use a high place with a clear landing zone to avoid knocking a dummy into an inaccessible gap. The best place to throw dummies is not always the tallest point; height matters more when the drop below is unobstructed, while nearby structures can interrupt momentum and make the stunt harder to control.
Spawn Area and Map Orientation
The Ragdoll Reality trap guide starts in the spawn area, where every session begins with dummies ready to grab, lift, and launch. The official game page identifies a single-player physics sandbox, so the map is easier to study as a personal testing ground than as a team objective. Understanding the layout first prevents wasted runs and makes it easier to compare a clean tower drop with a spinning wrecking-ball hit.
The map includes six named hazards: the Shredder, the train, the wrecking ball, the spike pit, the human cannon, and the seesaw. The same official page also names an 80-stud tower as a high place from which dummies can be dropped. It does not publish exact damage values, respawn rules, or a complete coordinate list, so the safest approach is to learn each landmark visually and test it directly.
Begin the Ragdoll Reality map tour by identifying the spawn area, the 80-stud tower, and the six named hazards before testing maximum force. A sensible first run is to carry a dummy from the spawn area to the tower, drop one cleanly, then repeat the same release point with the wrecking ball or human cannon; comparing trajectories shows how each interaction changes direction and impact. Use the table below as a route plan, while confirming placement and collision behavior in-game because exact coordinates and damage values are not published.
| Map feature | What you can do there | Best reason to visit |
|---|---|---|
| Spawn area | Grab and prepare a dummy | Practice carries and first throws |
| 80-stud tower | Drop dummies from a great height | Test clean falls and long-distance arcs |
| Shredder | Feed a dummy into the machine | Create a close-range crushing stunt |
| Train | Place or time a dummy near the track | Produce a moving-impact collision |
| Wrecking ball | Trigger a swinging impact | Test force and directional control |
| Spike pit | Drop a dummy onto the spikes | Use a precise vertical landing |
| Human cannon | Launch a dummy through the air | Practice ranged positioning |
| Seesaw | Use the tilting platform for momentum | Test flips, drops, and improvised chains |
Scan the Terrain First
Dummies react to force rather than traditional character stats. According to the official page, impacts register where they land, bodies can stumble and recover, limbs can detach, and a damaged dummy may later become a zombie in the graveyard. That makes contact point important: a torso landing may produce a different result from a head-first landing, even when two throws begin from similar heights.
Begin by finding visual landmarks with wide, contrasting shapes. The tower should stand out vertically, the train needs a clear track, and the cannon or seesaw will be easier to identify by their motion. Once the major structures are known, the Ragdoll Reality all locations view becomes much more manageable because each stunt can be categorized by where the dummy begins, what redirects it, and how it finally impacts a surface.
The spawn area as a practice zone
The spawn area works best as a low-risk rehearsal space. Test how far a dummy can be carried, where it sits in the grab animation, and how much room is available before the body collides with scenery. It is also the best place to learn whether a throw begins with a clean downward angle or an accidental side impact.
Use the first few minutes to make short, controlled tests rather than maximum launches. Push a dummy, lift it, rotate it, and release it at low speed. This establishes the basic grab angle and release window before you carry those techniques to a moving hazard. The Ragdoll Reality getting-started guide provides a useful first-session structure for the controls that support this map practice.
All Locations and Six Hazards
A complete Ragdoll Reality all locations checklist should include all six officially named hazards plus the 80-stud tower. The locations are not interchangeable: each tests a different relationship between release angle, momentum, and impact. Treat the map as six experiments rather than a single scoring arena.
| Hazard | Primary stunt | Positioning principle | Common mistake |
|---|---|---|---|
| Shredder | Crushing throw | Feed the body into the intake directly | Dropping beside the machine |
| Train | Moving collision | Use the track to define the impact line | Standing where the train cannot be seen |
| Wrecking ball | Swing impact | Watch the arc before releasing | Pushing instead of timing the strike |
| Spike pit | Vertical drop | Prioritize landing precision | Losing control before the peak |
| Human cannon | Ranged launch | Aim beyond the cannon’s muzzle | Confusing the launch with the landing |
| Seesaw | Momentum stunt | Use the tilt to redirect the body | Releasing before the platform responds |
| 80-stud tower | Extreme fall | Center the dummy before dropping | Dropping beside the structure |
Shredder and spike pit
The Shredder rewards direct alignment. A wide or loose throw can bounce along the floor before reaching the intake, while a centered carry gives you a clearer line. The spike pit has the opposite requirement: precision at the point of descent. Drop the body over the target area and let gravity do most of the work rather than forcing a horizontal throw at the last moment.
These two hazards are useful for testing control because their clearest success conditions are spatial. You can immediately see whether the dummy entered the intended zone. The official material does not specify exact damage thresholds for either feature, which means visual confirmation is more dependable than inventing a numerical rating.
Train and wrecking ball
The train and wrecking ball introduce motion. With the train, the track constrains where a hit can occur, so approach the lane with the dummy already oriented along it. With the wrecking ball, the swing path controls the impact timing. A well-timed release can use the moving object’s force, while an early release may only place the dummy in a dangerous position without producing a clean hit.
Practice in observation cycles: watch one complete movement, choose the release point, then execute the throw. The Ragdoll Reality how to use train guide focuses on the train’s timing, while this guide treats the train as one point in a larger hazard tour.
Human cannon and seesaw
The human cannon is best treated as a launcher rather than the final target. The useful information comes from where the dummy lands, which direction it travels, and whether it survives the launch. That makes the cannon valuable for reaching the map’s Ragdoll Reality high places and for practicing longer throws without relying entirely on a tower drop.
The seesaw works through stored momentum. A body dropped onto one end changes the platform’s angle, which can redirect another body or alter the next landing. Because timing matters, take one successful action at a time before attempting a chain. For broader combinations, the Ragdoll Reality hazard combos guide explains how multiple obstacles can be staged without losing control of the sequence.
High Places and the 80-Stud Tower
The 80-stud tower is the map’s clearest officially named high place. It provides a much greater vertical drop than ordinary platforms, making it valuable for testing fall impact, horizontal control, and whether a dummy reaches a distant hazard before landing. The official page confirms the tower as a drop location, but it does not publish fall-damage values or a guaranteed outcome for every landing.
A reliable tower routine has four stages: secure the dummy, confirm the edge, release cleanly, and follow through. The most common failure is losing balance or changing the body’s angle at the last instant. Move slowly until the dummy is beyond the stable floor area, then release without an extra sideways shove unless that sideways force is intentional.
| Drop goal | Setup | Release advice | What to observe |
|---|---|---|---|
| Straight-down landing | Center the body on the tower base | Minimize sideways motion | Limbs, body orientation, and recovery |
| Long horizontal throw | Face toward a distant target | Use a controlled downward angle | Travel distance and first collision |
| Landing on a moving hazard | Begin above the track or swing path | Time the fall after the obstacle’s cycle | Interaction timing and redirect |
| Maximum spectacle | Use the tallest confirmed edge | Prioritize a clean release over a fancy spin | Overall impact and body reaction |
Best place to throw dummies
The best place to throw dummies depends on the goal. The 80-stud tower is strongest for vertical experiments, the train and wrecking ball are better for moving collisions, and the open ground near the spawn area is more forgiving for learning control. There is no single superior point for every stunt because distance, height, and timing solve different problems.
For maximum reach, use the tower. For repeatable practice, use the spawn area or another open surface. For a dramatic collision, position yourself where the moving hazard’s path is visible and wait for a clear cycle. The Ragdoll Reality fall damage guide provides a focused look at safe drop experimentation, which is especially relevant when testing the tower.
Line of sight and release quality
Before committing to a long throw, look past the dummy and identify the intended endpoint. A tower drop can look straightforward because both the body and target are visible, yet small rotations near the edge may redirect the result. Make sure the landing area is clear and that scenery is not likely to catch the body halfway down.
Record each attempt with one note: what changed. For example, note a later release, a flatter angle, or a centered grip. One-variable testing makes it easier to identify the technique that produced the strongest result without assuming that the game uses a fixed power formula.
Trap Guide Strategy by Stunt Type
The best Ragdoll Reality trap guide strategy is to select a target hazard, define the required motion, and then adjust only one variable per attempt. The game’s physical reactions can make spectacular results difficult to reproduce, so a repeatable setup matters more than reckless experimentation. First decide whether the body should be crushed, dropped, launched, collided with, or redirected.
| Stunt type | Best starting location | Main skill | Success signal |
|---|---|---|---|
| Crushing stunt | Shredder approach | Direct alignment | Body reaches the intake cleanly |
| Moving-object hit | Train or wrecking ball sightline | Timing and anticipation | Contact occurs during the moving cycle |
| Precision drop | Spike pit | Controlled descent | Body lands in the marked area |
| Long-distance launch | Human cannon | Ranged positioning | Dummy reaches the intended zone |
| High-impact fall | 80-stud tower | Release discipline | Strong, centered impact |
| Chain reaction | Seesaw and open lane | Momentum transfer | One action influences the next |
Plan the route before the throw
A route connects the launch point, the midpoint, and the intended endpoint. The human cannon may launch a dummy over scenery toward a high platform; the tower may send it toward a track; the wrecking ball may redirect a body into the path of another hazard. On the official game page, the experience is described as a physics sandbox in which players can grab, push, throw, and dismember dummies, making route planning a natural part of experimentation.
Mark the route mentally in three parts. The launch point determines the initial direction. The midpoint identifies obstacles that could interrupt the body. The endpoint reveals whether the stunt achieved the intended hazard. If the body fails, determine which of those three parts caused the error.
Control Before You Commit
Players often blame a weak throw when the real problem is the grip. A body held too close may rotate around the player, while a body carried too high may hit a ledge before release. Test the carry at walking speed and keep the dummy clear of nearby walls. Once the grip feels consistent, increase the throwing motion gradually.
Impact is only the final stage. The body must first remain controllable while being lifted, remain oriented in the air, and then reach the hazard at a useful time. For advanced sequencing, the Ragdoll Reality deadly playground overview provides a broader look at how the named obstacles fit into the sandbox.
Isolate a Single Hazard
A useful practice order is vertical, stationary, moving, then chained. Begin with the spike pit to learn precise drops, move to the Shredder for direct feeding, add the train or the wrecking ball to introduce timing, and finish with the human cannon or the seesaw. This sequence reduces the number of variables while still building control.
| Practice stage | Focus | Success target |
|---|---|---|
| 1. Vertical drops | Centering and release | Repeatable landing area |
| 2. Direct hazards | Grip and body angle | Clean feeding motion |
| 3. Moving hazards | Timing and anticipation | Contact during the correct cycle |
| 4. Ranged launches | Trajectory control | Reaches the distant endpoint |
| 5. Chains | Momentum transfer | Each stage changes the next route |
Common Map Mistakes and Better Test Methods
Most unsuccessful attempts in this Ragdoll Reality map tour come from hidden assumptions. Players may expect fixed damage, treat every high point as identical, or release a dummy without checking the moving object’s cycle. Since the official material leaves detailed damage, respawn behavior, mass, gravity, and joint limits unpublished, practical observation is more reliable than assuming a hidden formula.
| Mistake | What likely happens | Better method |
|---|---|---|
| Dropping beside the target | The body lands outside the intended zone | Center the body before release |
| Throwing at a moving hazard blindly | The obstacle passes before contact | Watch one complete cycle |
| Maxing power too early | Control and direction become inconsistent | Build force in gradual steps |
| Using an unmarked high point | The landing route becomes uncertain | Use the confirmed tower for height tests |
| Chaining too many actions | One mistimed release ruins the route | Complete each action separately first |
| Assuming every limb reacts alike | Body-part damage may differ from a torso hit | Test contacts while watching the impact point |
Watch the body, not only the obstacle
The official page emphasizes that hits register at the impact point and that dummies can stumble, recover, bleed, and lose limbs. That means watching the obstacle alone is not enough. Follow the body after contact to see whether it merely clips, falls cleanly, or becomes trapped in a different part of the environment.
Limbs can also separate, and a damaged dummy may follow the graveyard conversion path into a zombie form. That makes body-part awareness important when repeating a stunt. A result that looks like a weak hit may actually have been a clean leg-first landing that changed the body’s shape and trajectory.
Reproduce the successful setup
When a stunt works, record the smallest useful set of conditions, including the approximate release height, the dummy’s facing angle, and whether the trap was triggered by a moving hazard or a stationary impact zone. This matters in Ragdoll Reality because a successful throw can look identical from above while differing in the exact contact point and momentum. A short test log—such as “same platform, 20-degree left angle, hazard at the same cycle position”—lets you compare attempts without mistaking a lucky ragdoll reaction for a reliable spawning technique.
-
Starting location and height
-
Body orientation at release
-
Throwing motion and approximate direction
-
Position of the moving hazard in its cycle
-
First impact point
-
Final resting location
Treat the successful setup as a controlled experiment: change only one variable per throw, such as release height, facing angle, or the trap’s cycle position, while keeping the others fixed. For example, if a dummy sticks on a high platform, test the same 20-degree left angle from the same starting point before adjusting the throwing motion. This isolates the cause of the ragdoll reaction and makes the technique repeatable, rather than relying on a lucky success or changing grip, angle, height, and timing all at once.
Frequently Asked Questions
Where is the best spot to launch a dummy in Ragdoll Reality?
The 80-stud tower is the best confirmed high point for long drops and high-impact landings. Use the spawn area for controlled practice, the train or wrecking ball for timed collisions, and the human cannon when you need to reach a distant location. The best choice depends on whether your priority is height, range, precision, or a moving-object impact.
What are all six named hazards in the map?
The six hazards identified by the official game page are the Shredder, the train, the wrecking ball, the spike pit, the human cannon and the seesaw. The 80-stud tower is an additional high location rather than one of those six hazards. Exact damage values and respawn timing are not published, so players should evaluate results through the visible body reactions and landing positions.
Does the 80-stud tower guarantee the strongest result?
No. Height can create a dramatic impact, but grip, release angle, obstacles, and body orientation still influence the outcome. Start with a centered drop and a simple motion before adding a long horizontal throw. This establishes a reliable baseline and makes it easier to determine whether a later result came from improved technique or a different trajectory.
Should beginners test hazards in the spawn area first?
Yes, because short throws and small adjustments help you learn the grab and release timing without committing to a full route. Then move to the spike pit, the Shredder, the train, and the wrecking ball before attempting the tower or cannon. The progressive order in this Ragdoll Reality trap guide reduces guesswork while teaching you to isolate one physical variable at a time.
How do you improve a stunt that only works once?
Record the starting point, body orientation, release direction, moving-hazard timing, and first contact point. Repeat the same setup, then alter only one element. Because this map tour is based on a physics sandbox with visible collisions and dismemberment, that controlled method is more reliable than changing the entire sequence after every miss.