
Playground
The six named Deadly Playground hazards, what each one does physically, and how to use them for momentum, falls and dismemberment tests.
Introduction
The Deadly Playground is the part of Ragdoll Reality that turns physics into a level design. The official page names six hazards: a shredder, a train, a wrecking ball, a spike pit, a human cannon and a seesaw. It also mentions an 80-stud tower as a place to throw dummies from, and ends the list with 'and more', which means the six objects are a starting set rather than the whole map. Each hazard resolves through the same physics as a direct hit, so they are useful teaching tools for momentum, knockback and falls. This page explains what each object does physically and how to use it, without inventing damage numbers the game page never lists.
Six Named Hazards
| Hazard | Type | Physical Effect | Best Use |
|---|---|---|---|
| Shredder | Industrial | Grinds and separates limbs | Dismemberment experiments |
| Train | Moving | High-momentum impact | Timing and knockback tests |
| Wrecking Ball | Swinging | Transfers swing momentum | Launching a dummy across the map |
| Spike Pit | Pit | Punishes a fall at the bottom | Combining with throws from height |
| Human Cannon | Launcher | Fires a dummy along an arc | Long-distance impact tests |
| Seesaw | Lever | Converts a drop into a launch | Low-effort vertical launches |
Hazard Breakdown
Shredder
Grinding damage volume An industrial hazard named in the official playground list, built around grinding contact. It is the fastest documented way to separate a limb without a weapon, which makes it useful for comparing damage-based and direct removal.
Train
Fixed-path momentum A moving hazard named in the official playground list, travelling along a set route. The hazard is on a fixed path, so the skill is positioning a dummy where the next pass will connect rather than reacting late.
Wrecking Ball
Stored swing energy A swinging impact hazard named in the official playground list. Because the ball stores swing energy, the result depends on timing as much as on where the dummy stands.
Spike Pit
Fall punishment A pit hazard named in the official playground list, dangerous at the bottom. It is most useful as the second half of a combination: create the fall first, then let the pit finish the experiment.
Human Cannon
Directed impulse A launch device named in the official playground list. A single calibration shot shows the arc before you try to hit anything specific, and the developer publishes no launch force, range or cooldown to calculate it for you.
Seesaw
Drop-to-launch conversion A physics prop named in the official playground list, acting as a lever. A short drop on one end produces a launch on the other, which makes it the cheapest vertical experiment in the playground.
Core Mechanics
Every hazard is a physics object first. The train supplies momentum along a fixed path, the wrecking ball stores swing energy, the seesaw converts a downward drop into an upward launch, and the human cannon applies a directed impulse. The shredder and spike pit are damage volumes: they punish contact or a fall rather than transferring momentum. The 80-stud tower is documented as a height to throw dummies from, which makes it a natural partner for the spike pit and the seesaw. Because the developer ends the hazard list with 'and more', the playground should be explored rather than memorised as a fixed six-object map.
Advantages
Hazards produce reactions that a direct hit struggles to reproduce. A wrecking ball sends a dummy across the map, a cannon creates a predictable arc, and a seesaw turns a short drop into height. That variety is ideal for players who want to experiment with momentum and recovery instead of only testing weapons. The objects are also readable: you can see what a train or a shredder will do before you commit. And because they share the same physics rules as combat, a lesson learned at the playground transfers back to ordinary hits. The playground also gives a solo player something the one-player server otherwise lacks: variety. Without teammates, hazards become the content that keeps a session from turning into repetitive target practice, and each object teaches a different physical principle.
Challenges
The playground is undocumented in detail. There are no published damage values, cooldown timers, respawn rules or safe distances, so timing is learned by observation. Some hazards require setup: a seesaw needs a drop, a cannon needs a target line, and a train needs correct positioning. The shredder and spike pit can also end an experiment quickly by removing the dummy you were testing on. Finally, the open-ended 'and more' means the map may change, so a route that works today is not guaranteed after a weekly update. Some objects also need a second body to work well, such as a seesaw that requires a weight on one end, and the solo server means you must supply that body yourself. That is a puzzle rather than a bug, but it adds setup time to every experiment.
Frequently Asked Questions
What is the Deadly Playground in Ragdoll Reality?+
How do you use the human cannon?+
Is the 80-stud tower a hazard?+
Quick Tips
Learn each hazard with a single dummy. One body per test keeps the result readable: if you use three, you cannot tell which object caused which reaction. Reset between attempts and change only the hazard or the drop height. A single body also makes it obvious whether a limb loss came from the hazard or from damage that was already present before the test began.
Use the tower to study falls. The 80-stud tower is the developer's own example of height-based physics. Dropping a dummy from it shows how a long fall differs from a short one, and that lesson applies to any knockback you produce in combat. Compare a short drop with a long one and note how the landing changes, because that difference is the clearest evidence that height is a real variable in this sandbox.
Do not chase damage numbers here. The playground has no published damage table. Watch what the object does to the body instead: a shredder separates limbs, a train transfers momentum, a seesaw converts direction. Those behaviours are the actual content. The behaviours are stable enough to describe, and they are what a player actually experiences, unlike a damage figure that no official source supports.
Featured
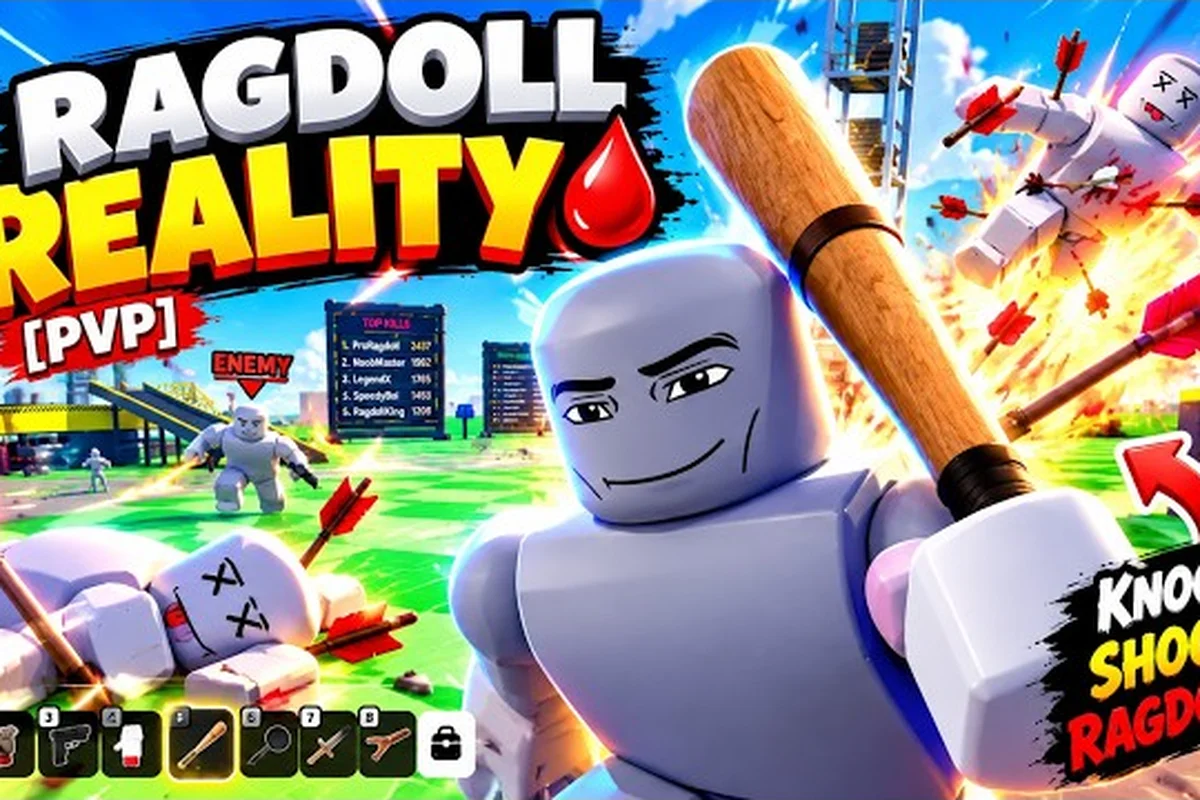
Ragdoll Reality Deadly Playground: 6 Hazards to Master
Explore Ragdoll Reality deadly playground hazards, including the Shredder, the wrecking ball, the spike pit, the human cannon, the train, and 80-stud drop.
Ragdoll Reality Fall Damage: Launching Dummies Safely
Test ragdoll reality fall damage with the dummy launcher, tower drops, and high platforms while learning how impact height changes each physics reaction.
Ragdoll Reality Hazard Combos: Chain Stunts Like a Pro
Build ragdoll reality hazard combos with the train, Shredder, and human cannon to create multi-stage launches, impacts, and spectacular physics stunts.
All Articles
Ragdoll Reality How to Use Train: Timing and Stunt Tips
Master ragdoll reality how to use train timing to launch dummies safely, combine it with nearby hazards, and turn the playground’s moving platform into a stunt tool.
Ragdoll Reality Kill Zones: 6 Deadly Spots to Test
Locate Ragdoll Reality kill zones across the playground, from the Shredder and the train to the wrecking ball and the spike pit, with tips for lethal tests.
Ragdoll Reality Seesaw: Launch and Catapult Tips
Use ragdoll reality seesaw mechanics to redirect dummies toward towers and rooftops, then combine its motion with catapult launches for bigger physics stunts.
Ragdoll Reality Trap Guide: Tour Every Playground Hazard
Navigate the map’s spawn area and six hazards, from the Shredder to the 80-stud tower, and find reliable spots for high-impact dummy throws.