
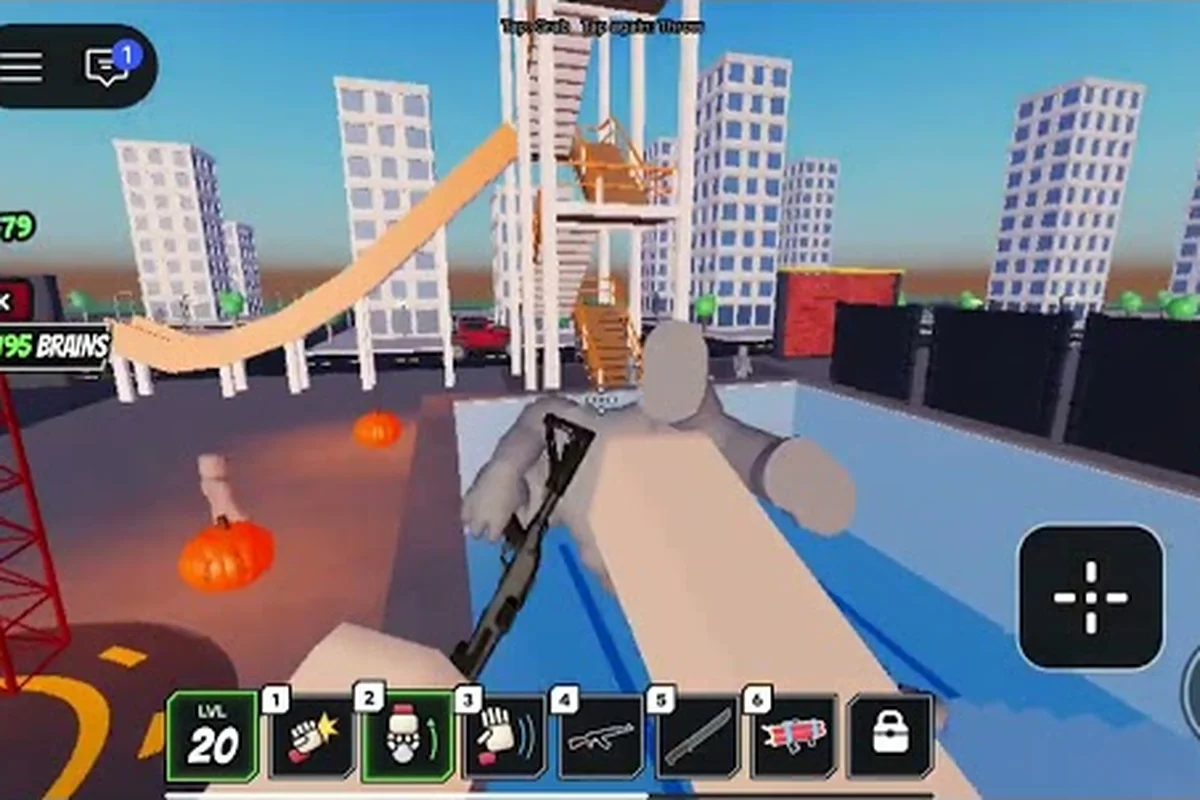
Ragdoll reality dummy stumble reactions make precise targeting matter. Learn how impacts to the head, torso, arms, and legs produce different physical results.
Dummy Stumble Mechanics
A ragdoll reality dummy stumble is usually the result of impact location, force, and the dummy’s movement at that moment. The official Ragdoll Reality game page describes dummies that stagger, retaliate, retreat and rise again after being struck, so a useful target should be chosen for the reaction you want to create.
The body works as several distinct target areas rather than one uniform health bar. A leg strike can leave the dummy limping or crawling, an arm impact can make that arm hang while the dummy clutches the wound, and a torso hit can interrupt movement more broadly. A head strike may create a sharper stun, although no published values define exact stun durations, damage thresholds, or mass values.
| Target area | Common immediate reaction | Practical purpose |
|---|---|---|
| Head | Stronger interruption or stagger | Break a chase or gain a brief opening |
| Torso | Broad balance disruption | Stop a standing or running dummy |
| Arm | Arm hangs; dummy may clutch the injury | Reduce grabbing or striking ability |
| Leg | Limp, crawl, or reduced movement | Slow a target for a follow-up |
| Combined impacts | Stagger followed by collapse or retreat | Control the encounter more reliably |
The impact-point system matters because aim determines the visible physics response. Players who only watch the dummy’s health bar may miss the stronger tactical value of choosing a precise location. Understanding each zone also helps with all dummy types and their reactions, because enemy behavior can change what a target is doing when your attack connects.
What the game confirms
The official page confirms that hits register where they land, limbs may detach, and wounds can bleed. It also indicates that dummies can be pushed, grabbed, thrown, and staggered, which means the best strike depends partly on the situation. A stationary target may require a stronger impact, while a moving target can be interrupted more easily with a well-placed blow.
What the page does not publish is just as important for this guide. There are no official figures for health, damage, dismemberment thresholds, gravity, joint limits, or recovery time. Consequently, comparisons in this guide describe visible target categories and practical outcomes, not hidden engine statistics or guaranteed stun durations.
Head and Torso Target Zones
The ragdoll reality dummy head is the most direct target when the goal is to interrupt a dangerous action, while the ragdoll reality dummy torso offers broader control over the body. Both matter, but they create different visual and tactical results rather than a simple “strongest versus weakest” hierarchy.
Head impacts
A clean head hit is useful when a dummy is charging, swinging, or trying to grapple. The resulting reaction can interrupt its immediate action and make the body lose balance. Because recovery is physics-driven, however, the same hit may produce a longer pause against a stationary dummy than against one already moving at speed.
| Head-hit condition | Likely result | Best follow-up |
|---|---|---|
| Dummy is running toward you | Stagger interrupts forward momentum | Step around it and strike again |
| Dummy is standing still | Greater chance of a full-body collapse | Follow while it is down |
| Dummy is attacking in reach | Timing can interrupt the swing | Create distance after impact |
| Head has already been injured | Reaction may be less stable or predictable | Shift to torso or limbs |
Players should treat the head as a precision target, not an automatic knockout button. The official material does not promise instant incapacitation, and community reports commonly describe dummies getting back up. If immediate stopping power does not appear, a second strike to a limb or the torso can complete the knockdown more reliably.
Torso impacts
The torso is the body’s central balance point. A solid hit here can produce a more complete ragdoll reality dummy stumble because the impact affects the trunk rather than a single extremity. That makes it a strong default when you need the entire body to lose balance, especially if the dummy is already turning or has changed direction.
The torso is also useful when precise limb aiming is difficult. A chest or upper-back impact is easier to land than a small arm or leg target, yet it can still disrupt movement. The trade-off is that a torso strike may look less specialized than an arm or leg hit, so choose it when consistency matters more than a specific injury effect.
Choosing between head and torso
Use the head when timing and interruption are your priorities. Use the torso when you want reliable full-body movement disruption and your aim is already close. Both choices outperform a blind swing because the hit lands where you intended, while the official listing confirms that dummies may otherwise fight back, run, or recover.
Arm and Leg Target Zones
The ragdoll reality dummy arm and ragdoll reality dummy leg target areas specialize in functionality. Rather than trying to produce one generic collapse, these hits reduce a dummy’s practical options by affecting how it moves, balances, grabs, or reacts after an impact.
Arm impacts
An arm strike can leave that limb hanging while the dummy clutches the wound, according to the official game page. This makes the arm useful when you want to reduce a dummy’s ability to grab, strike, or steady itself without necessarily removing the entire body from the fight.
| Arm-hit advantage | What it can change | Limitation |
|---|---|---|
| Directional control | Suggests a weaker grabbing or striking side | A one-armed dummy may still move |
| Visual feedback | Confirms where the impact registered | A glancing hit may have limited effect |
| Follow-up positioning | Makes the other side easier to reach | Recovery is not guaranteed |
| Wound handling | Dummy may spend time clutching the area | Clutching does not prove full disablement |
Because an arm injury may not stop a determined dummy, avoid expecting a single hit to end the encounter. Watch the animation: a hanging arm or clutching behavior confirms that the arm-zone target landed correctly, then redirect the next attack toward the torso or an injured leg. More detail on dismemberment is available in the guide to ripping dummy limbs.
Leg impacts
A leg hit produces a more obvious mobility penalty. The official description says a leg strike can leave a dummy limping or crawling, which creates an opening for controlled movement and another attack. It also pairs naturally with the ragdoll reality dummy limbs concept because each leg becomes an obstacle to stable locomotion.
Timing is essential. Hitting a leg while the dummy is already sprinting can disrupt its stride, but striking after it has stopped and braced may produce a cleaner fall. Approach from an angle that allows you to observe the resulting balance rather than backing away immediately and assuming the target is finished.
A crawling or limping dummy may still crawl toward you or recover, so leg control is usually better used to create distance before changing targets. This is where the broader limb tactics for knocking out dummies become useful: the objective can shift from stopping the first motion to preventing the second.
Five Target Zones Compared
The five major zones can be ranked by their most reliable intended effect rather than by a fictional damage scale. No official damage chart exists, so this comparison focuses on the physical outcome each region is intended to influence and the situation in which that outcome is most valuable.
| Rank | Target zone | Primary effect | Best situation | Recovery risk |
|---|---|---|---|---|
| 1 | Torso | Whole-body balance disruption | Stopping a standing or running target | Medium |
| 2 | Legs | Reduced mobility or a fall | Creating distance before a follow-up | Medium to high |
| 3 | Head | Action interruption and stronger stagger | Breaking an attack or charge | Medium |
| 4 | Arms | Reduced use or stability of one side | Disrupting grabs or swings | High |
| 5 | Combined zones | Multi-part failure or collapse | Finishing a difficult target | Depends on condition |
This ranking is practical, not numeric. The torso ranks first for general consistency, while the head may be the best option in a narrow timing window. Arm hits can be strategically valuable even when they do not create the most dramatic fall, particularly when a grabbing or striking hand is the immediate concern.
Read the dummy’s state
A target zone becomes easier to select after you classify the dummy’s current state. A charging dummy presents a short head-timing window, a standing dummy offers a broad torso target, and a crawling dummy may expose an arm or leg. Use the state to choose the impact, then use the follow-up to decide whether the target should be pushed, knocked down, or redirected.
| Dummy state | First target | Reason | Better second action |
|---|---|---|---|
| Standing idle | Torso | Broadest reliable impact area | Follow the stagger with a limb hit |
| Charging | Head or leading leg | Interrupts momentum | Move aside and strike the torso |
| Swinging | Torso or striking arm | Breaks the attack cycle | Control the arm if it remains active |
| Crawling | Trailing leg | Limits further movement | Step back or target the torso |
| Already clutching an arm | Torso or opposite leg | Exploits reduced balance | Finish with the head if needed |
The important lesson is to avoid repeating the same attack simply because it worked once. A ragdoll reality dummy stumble can vary with direction, speed, and prior injuries, so successful targeting means observing the next reaction rather than memorizing one sequence.
Practical Stumble and Recovery Tactics
The best ragdoll reality dummy stumble strategy combines placement, follow-through, and confirmation. A hit registers at its impact point, but the surrounding behavior tells you whether the dummy is disabled, merely unbalanced, or still capable of acting. Use those observations to decide the next strike.
A four-step target routine
-
Observe the approach. Notice whether the dummy runs, stands, crawls, or prepares an attack.
-
Choose a functional target. Select the head to interrupt, torso to disrupt balance, arm to impair an action, or leg to reduce mobility.
-
Aim and confirm. Land the impact where intended, then watch for a stump, limp, clutch, crawl, or full stagger.
-
Adapt the follow-up. Finish the movement sequence, maintain distance, or use a different target if the dummy begins recovering.
| Observation after impact | Likely condition | Recommended response |
|---|---|---|
| Body drops and does not rise promptly | Strong stagger | Apply controlled follow-up |
| One arm hangs while the dummy clutches it | Arm injury | Target torso or opposite leg |
| Movement becomes a limp or crawl | Leg injury | Create space, then target torso |
| Head snaps sideways and body follows | Head reaction | Follow while balance is broken |
| Dummy turns or runs after a light hit | Partial interruption | Change target or improve timing |
The fourth step is where many encounters continue unnecessarily. A dummy that gets back up is not proof that the attack failed completely; the official game page explicitly includes recovery behavior. It may simply mean the first strike interrupted movement without eliminating the dummy’s ability to continue.
Avoid common targeting errors
-
Do not ignore body position. A torso hit during a turn can produce a cleaner fall than the same hit after the target has braced.
-
Do not confuse clutching with full disablement. Clutching an injured arm may show a precise hit, but the dummy can still move.
-
Do not overcommit after a head hit. Use the interrupted moment to reposition; the goal is control, not standing inside its next swing.
-
Do not assume a crawling dummy is harmless. It may still crawl, rise, or react, so maintain a safe distance.
-
Do not treat published omissions as hidden facts. The absence of a dismemberment threshold or health number means no precise percentage can be claimed.
These tactics are based on the confirmed impact-point behavior and the visible reactions described by the official listing. Exact outcomes may vary with the game’s current version, and players should use the Ragdoll Reality control basics guide to establish basic controls before trying advanced combinations.
Advanced Combos, Infection, and Zombie Outcomes
Advanced play can turn a precise ragdoll reality dummy stumble into a sequence rather than an isolated impact. The official page says a thrown dummy can enter the graveyard and become a zombie, while bitten dummies can become infected. This adds a new layer: the same body that you stagger may later become an active opponent with different movement priorities.
Combine impacts for a stronger control pattern
A reliable pattern is to begin with a torso or leg hit, observe whether the dummy falls or slows, and then target an exposed arm or head. The first impact controls the trunk or mobility; the second reduces a specific function. This is more adaptable than sending every attack to the head because the reaction can reveal which body area is affecting movement.
| Combo | Opening purpose | Follow-up purpose | Best use |
|---|---|---|---|
| Torso to head | Create full-body imbalance | Interrupt the attempted rise | Standard knockdown sequence |
| Leg to torso | Reduce mobility | Control the upper body | Keep a crawling target contained |
| Arm to torso | Limit one side of movement | Produce a broader fall | Against grabbers or swingers |
| Head to leg | Break an incoming action | Stop escape or recovery | Defensive encounter |
| Leg to arm | Limit travel | Reduce a dangerous limb | Careful close-range control |
Do not assume each stage adds a fixed damage multiplier. The official listing provides no damage formula, so the value of a combo comes from its sequence of physical effects. Momentum control is the key concept: each successful hit should remove a movement option before the next attack.
Graveyard conversion changes the encounter
The graveyard functions as a conversion point according to the official game page. A dummy thrown there can become a zombie, and the page identifies slow, normal, and fast zombie speed classes. Those classes pursue, pounce, and bite, which means a converted target should no longer be evaluated only as a stationary practice dummy.
| New threat | Likely movement pattern | Practical concern |
|---|---|---|
| Slow zombie | Slower pursuit | More time to reposition |
| Normal zombie | Standard chasing behavior | Keep a clear escape route |
| Fast zombie | Quick pursuit and pounce opportunities | Avoid committing to a long combo |
| Infected dummy | Able to convert after a bite | Break contact promptly |
Zombie health, bite damage, and wave population are not published, so the reliable takeaway is behavioral rather than statistical. When a dummy enters the graveyard path, account for a possible change in speed and aggression. The dummy blood, wound, and infection guide provides more context for infection and injury states.
A safe escalation plan
Use single-zone tests before attempting a full combo. Try the torso, then the leg, then the arm or head while watching how the dummy changes speed, posture, and intent. If it converts or rises unexpectedly, retreat to open space and reset the approach.
This method produces better results than memorizing a rigid sequence because the game responds to physical events rather than a visible combo meter. It also helps distinguish a successful stagger from a temporary pause. In both cases, the core rule remains simple: confirm the reaction, preserve space, and choose the next target only after the body tells you what changed.
Frequently Asked Questions
Which target causes the biggest ragdoll reality dummy stumble?
The torso generally offers the most consistent whole-body interruption because it affects the body’s central balance. A head hit can create a sharper stagger during an attack, while a leg hit is more reliable for producing a limp or crawl. Exact force and recovery timing can vary, and no official damage comparison is published.
What happens when the ragdoll reality dummy arm is hit?
An arm impact can make that arm hang while the dummy clutches the wound, according to the official game page. This may reduce its ability to grab, strike, or brace, but it does not always stop the dummy. A follow-up to the torso or a leg can extend the interruption.
Can a leg hit make a dummy crawl?
Yes. The official description says a leg hit can leave a dummy limping or crawling, which reduces its ability to move normally. The result depends on impact and movement state, so watch the reaction before advancing. Even a crawling dummy may recover, so maintain distance and plan another target.
Is the head the best target for causing a stagger?
The head is often best for interrupting a specific action, such as a charge or swing, because a clean hit can create a sharp reaction. The torso is the safer general choice when you need broad balance disruption or your aim is close. Choosing by the dummy’s state produces more reliable results than treating one zone as universally best.
Do all ragdoll reality dummy limbs detach from the same impacts?
The official game page confirms that limbs can detach, but it does not publish a dismemberment threshold or damage formula. Some hits may wound a limb without detaching it, while later impacts or greater force can cause separation. Observe the animation rather than assuming every visible reaction will remove the body part.